
Filter, sort and save list views
Pick columns, add filters, sort, and save views of your customers, leads, jobs, estimates and invoices lists.
The customer, lead, job, estimate and invoice lists all work the same way. You can choose columns, filter and sort, then save the setup as a view so it's one click next time.
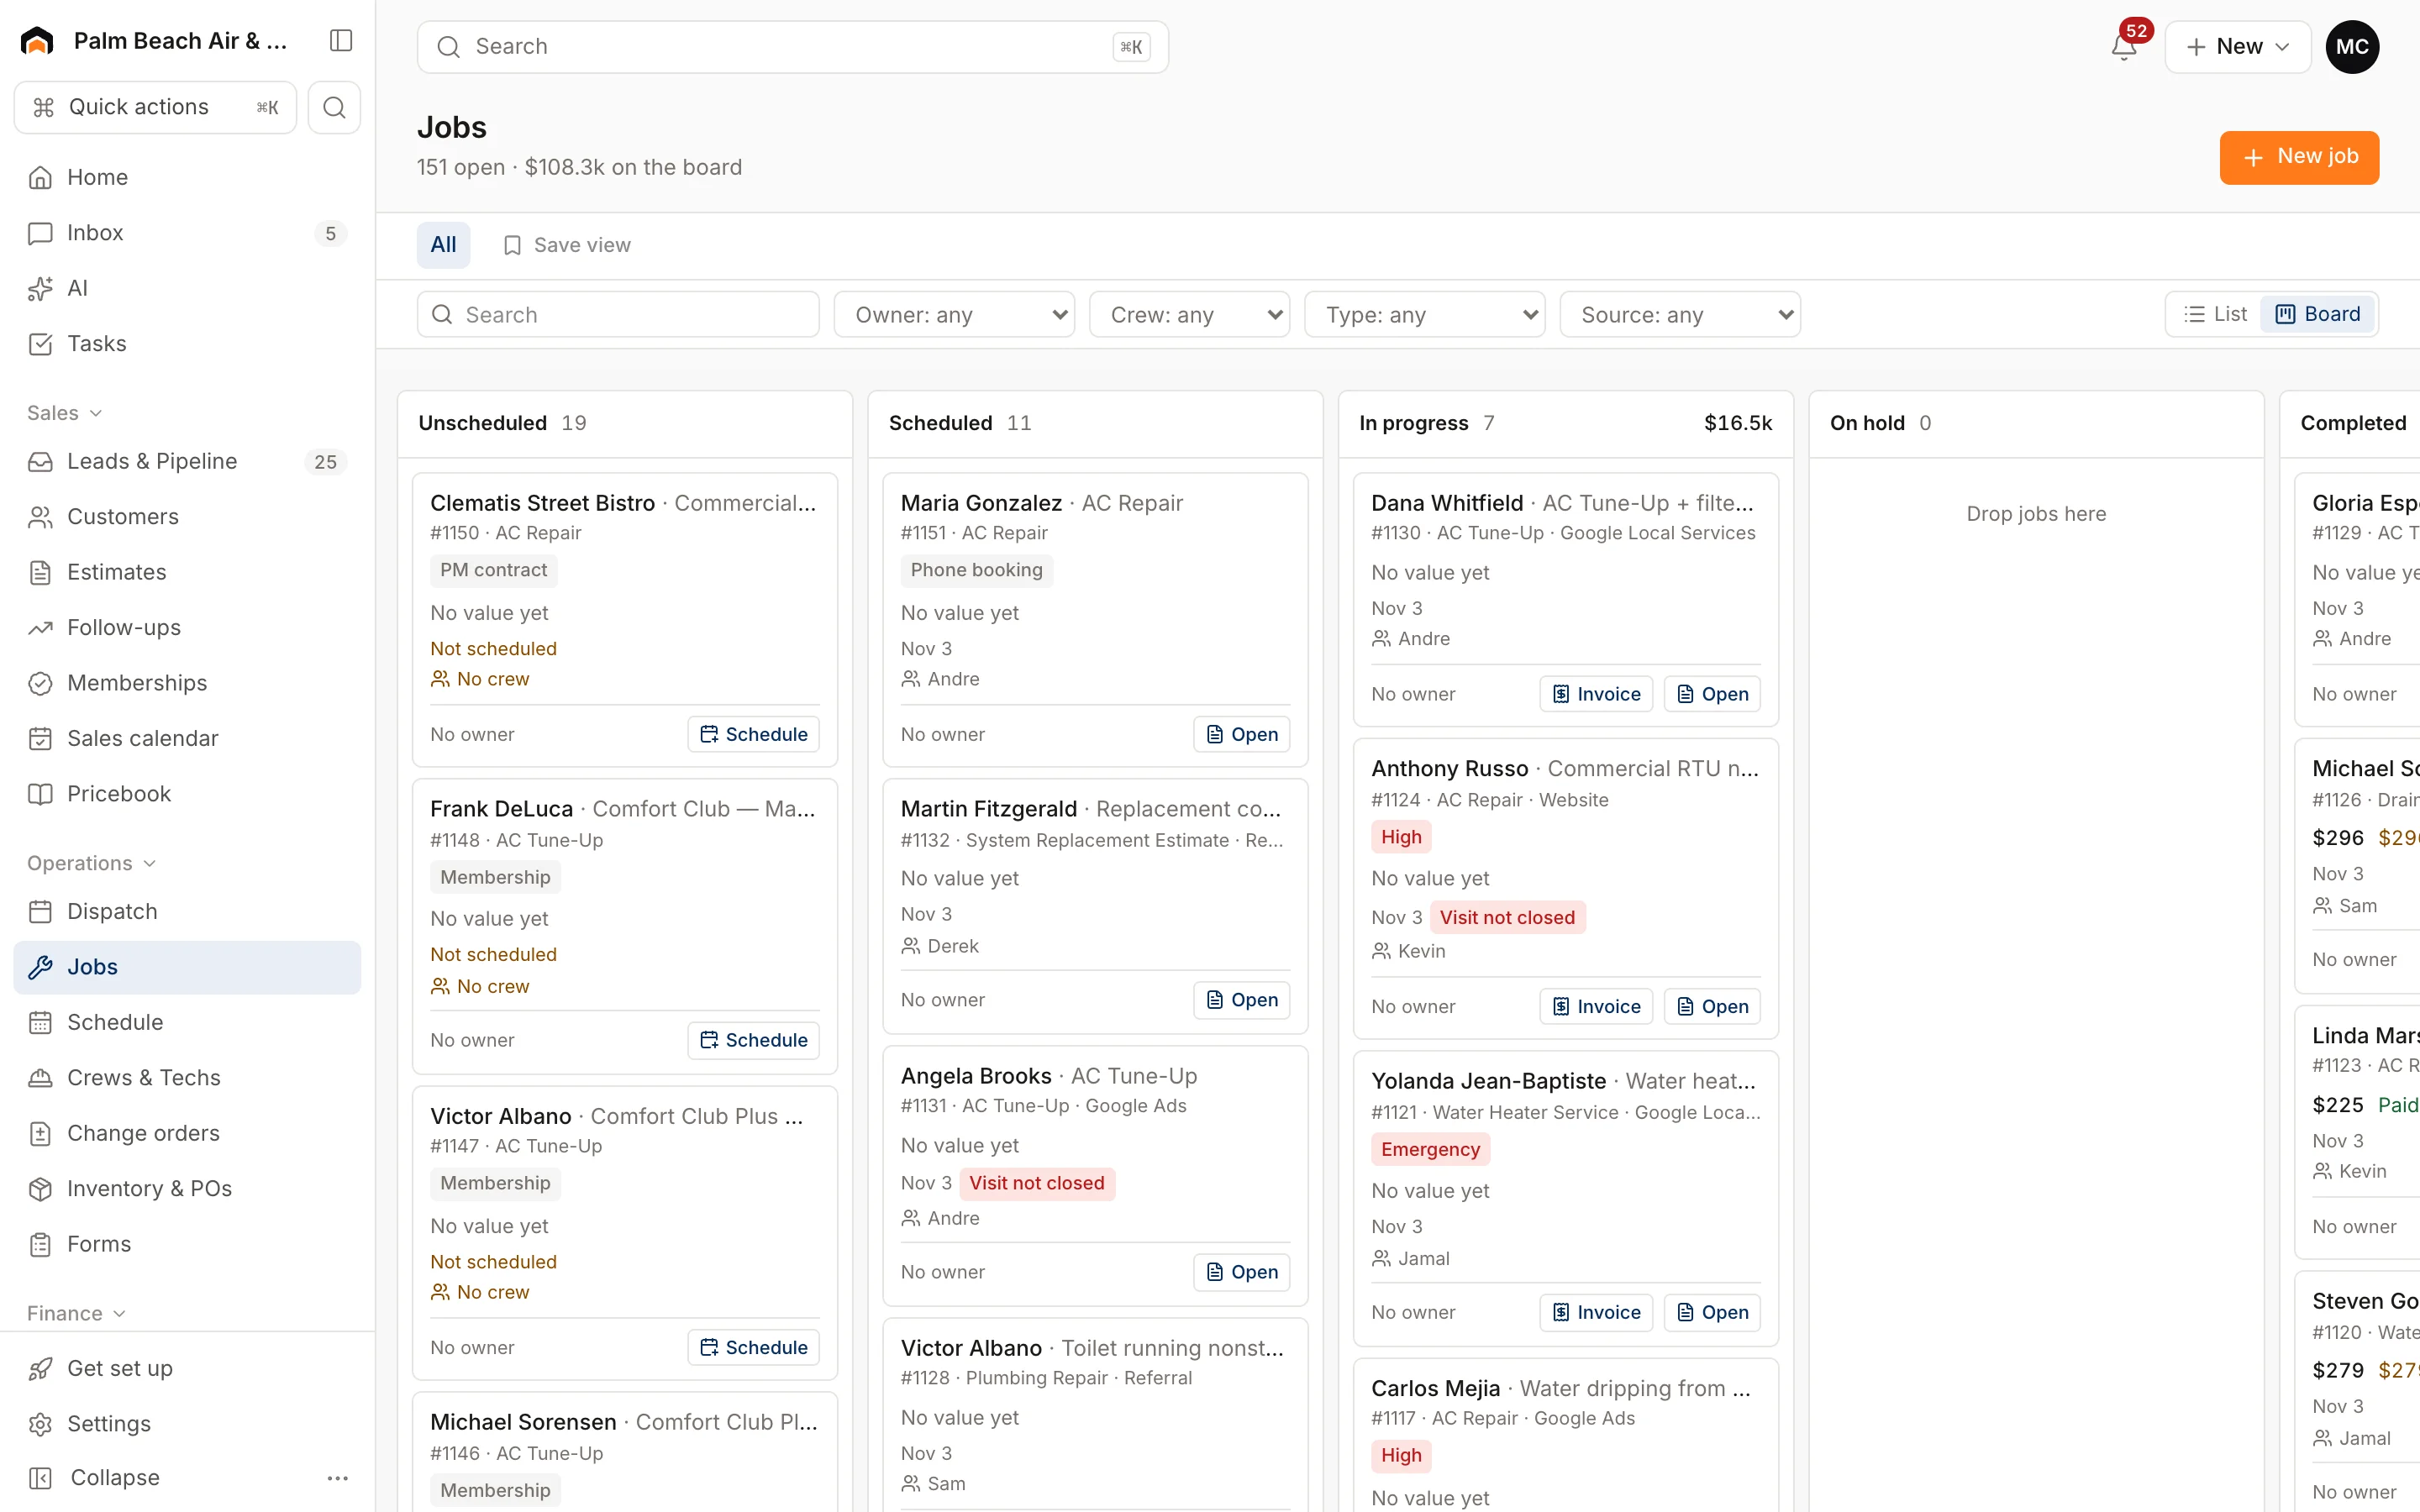
Search
Type in the search box at the top of the list. It matches any visible value in a row. The count on the right shows how many rows match.
Choose columns
- Click Columns.
- Tick the columns you want, untick the ones you don't.
Your custom fields are in this list too. They start hidden.
Filter
- Click Filter.
- Click Add filter.
- Pick a column, a condition (like contains, is, after or is empty) and a value.
- Add more filters if you need them. A row must match all of them.
To remove one filter, click the X at the end of its line. If nothing matches, click Clear filters in the table to start over.
Sort
Click a column heading to sort by it. Click again to reverse the order, and a third time to turn sorting off.
Save a view
- Set up the columns, filters and sort you want.
- Click Save view at the end of the view tabs.
- Name it, for example "Members in Jupiter".
- Tick Share with team if everyone should see it. Leave it unticked to keep it just for you.
- Click Save current filters.
The view appears as a tab next to All. Shared views show a small share icon.
Change or delete a view
Open a view you created, change the filters or columns, then click Update view. To remove it, click the trash icon. You can only update or delete views you made.
Was this helpful?
Related articles
Custom fields and layouts
Fill in and find custom fields
Where your custom fields show up, how to fill them in, and how to use them in lists, exports and Flows.
Custom fields and layouts
Add custom fields
Track your own details, like gate codes, permit numbers or roof type, on customers, leads, jobs, estimates, properties and equipment.
Sales
Manage leads
Work every new inquiry on the Leads board, from New to Contacted to Booked, and see where your leads come from.
Custom fields and layouts
Build forms and checklists
Create inspection, safety and sign-off checklists that techs fill out in the field app, attached to your job types.
Still stuck?
Our team answers support emails during business hours, usually within a few hours.