
Email and automated messages
Set the sender name and reply-to address on customer emails, connect your mailbox, and edit the texts and emails Homeforce sends on its own.
Homeforce sends customers texts and emails at key moments, like when a visit is booked or an invoice goes out. These two pages control how they look and what they say. Owners and admins can change them.
Go to Settings → Email.
Under Sender:
- From name: what customers see in their inbox. Defaults to your company name.
- Reply-to address: where customer replies land. Defaults to your company email.
- Email footer: added under every customer email, for example your address, license or hours. Your company name, phone and email are added below it.
Click Save.
Under Connected email & calendar, click Connect next to Google Workspace or Microsoft 365 to send from your own mailbox and keep visits on your calendar. Click Manage on one that's already connected.
Automated messages
Go to Settings → Automated messages. Messages are grouped:
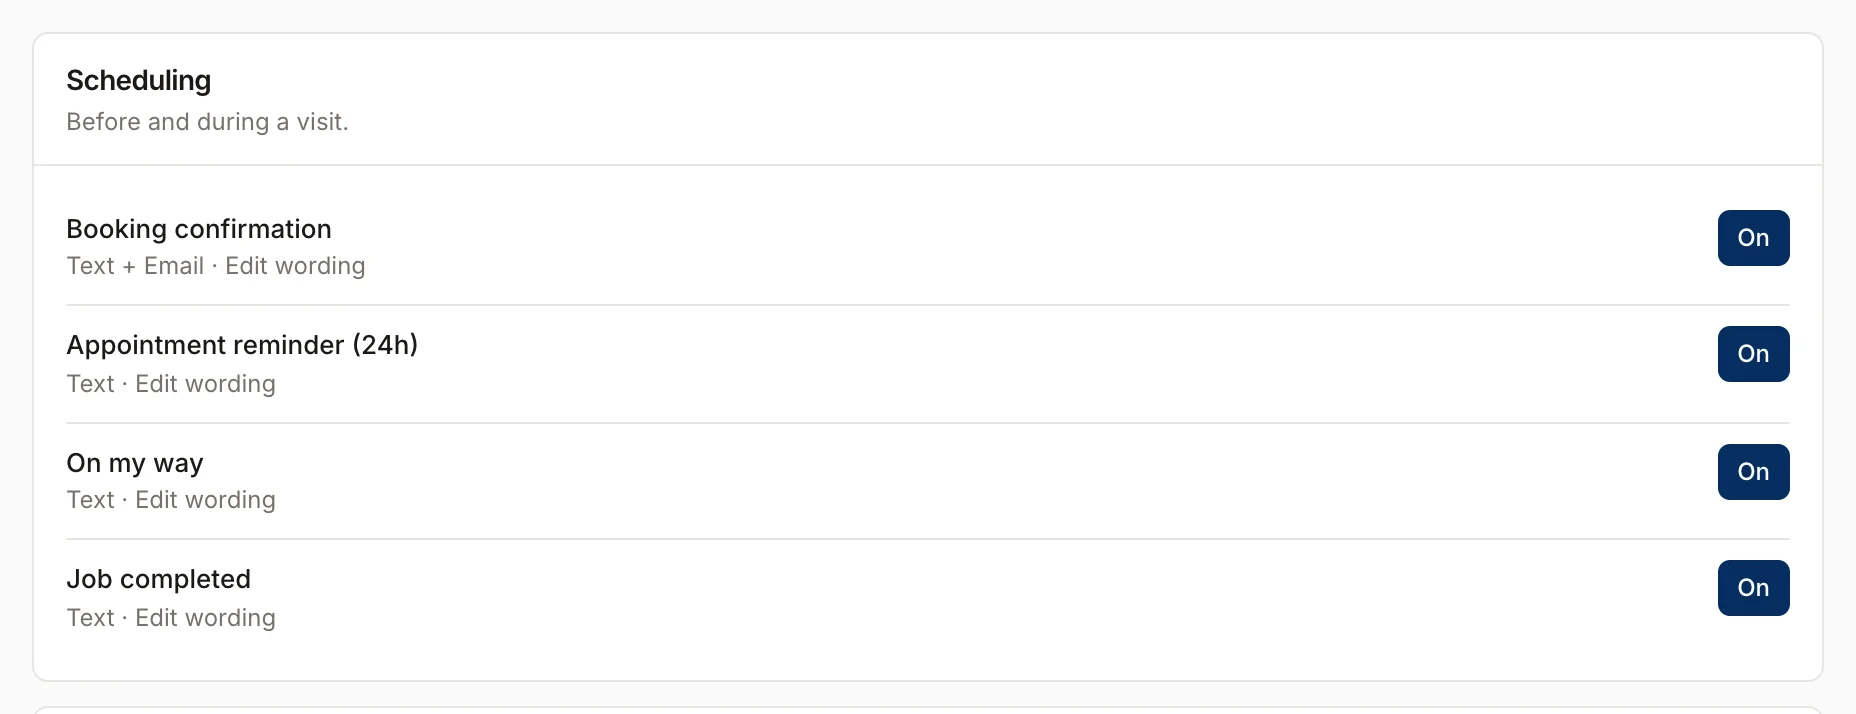
- Scheduling: Booking confirmation, Appointment reminder (24h), On my way and Job completed.
- Estimates & invoices: Estimate sent, Invoice sent and Payment receipt.
- Reviews: Review request.
Each one shows whether it goes by text, email or both.
Turn a message on or off
Click the On / Off button next to it.
Change the wording
- Click Edit wording under the message name.
- Edit the Text message, or the Email subject and Email body.
- Keep the placeholders in double curly braces, like
{{first_name}}or{{link}}. They're filled in for each customer. The available ones are listed under the box. - Click Save.
Texts only go out once texting is live. See Set up phone and texting. Customers who replied STOP don't get texts.
Was this helpful?
Related articles
Settings
Set up phone and texting
Register your business, get a texting number, and pass carrier review so reminders and two-way texts go out.
Settings
Reviews
Ask customers for a review automatically after they pay, and connect Google Business Profile.
Settings
Scheduling and weather rules
Set default visit lengths, arrival windows and double-booking, and the weather limits that flag outdoor work.
Settings
Estimate and pricebook settings
Set estimate expiry, default deposits, good/better/best, follow-up sequences, pricebook markups and member discounts.
Still stuck?
Our team answers support emails during business hours, usually within a few hours.